Thinning Shears: A 2025 Guide To Mastering Textured Hair
Thinning Shears: A 2025 Guide to Mastering Textured Hair
Related Articles: Thinning Shears: A 2025 Guide to Mastering Textured Hair
Introduction
In this auspicious occasion, we are delighted to delve into the intriguing topic related to Thinning Shears: A 2025 Guide to Mastering Textured Hair. Let’s weave interesting information and offer fresh perspectives to the readers.
Table of Content
Thinning Shears: A 2025 Guide to Mastering Textured Hair

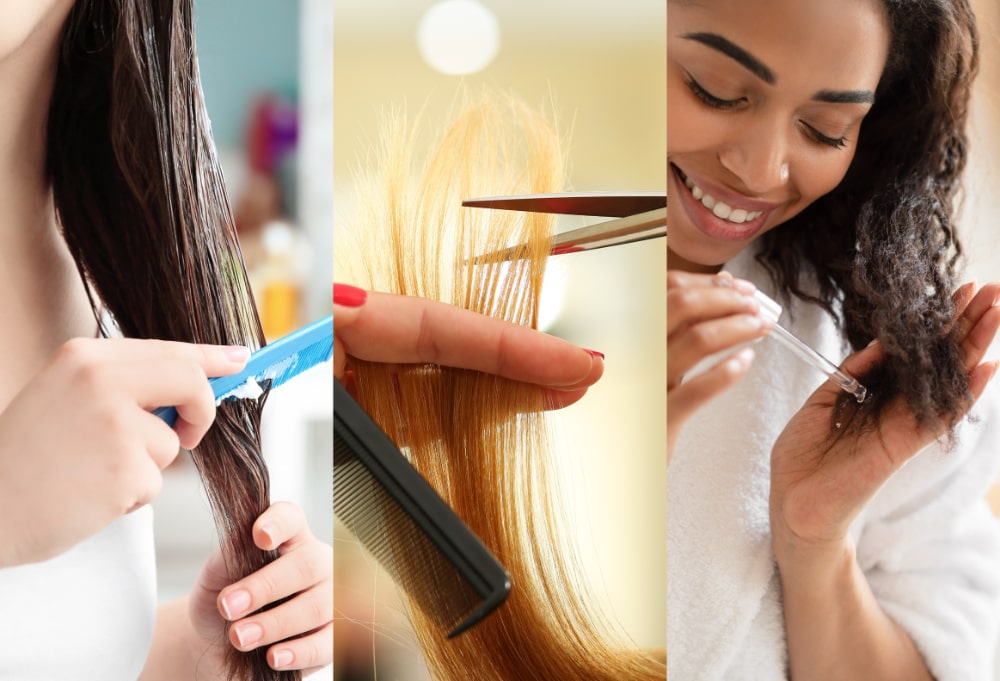
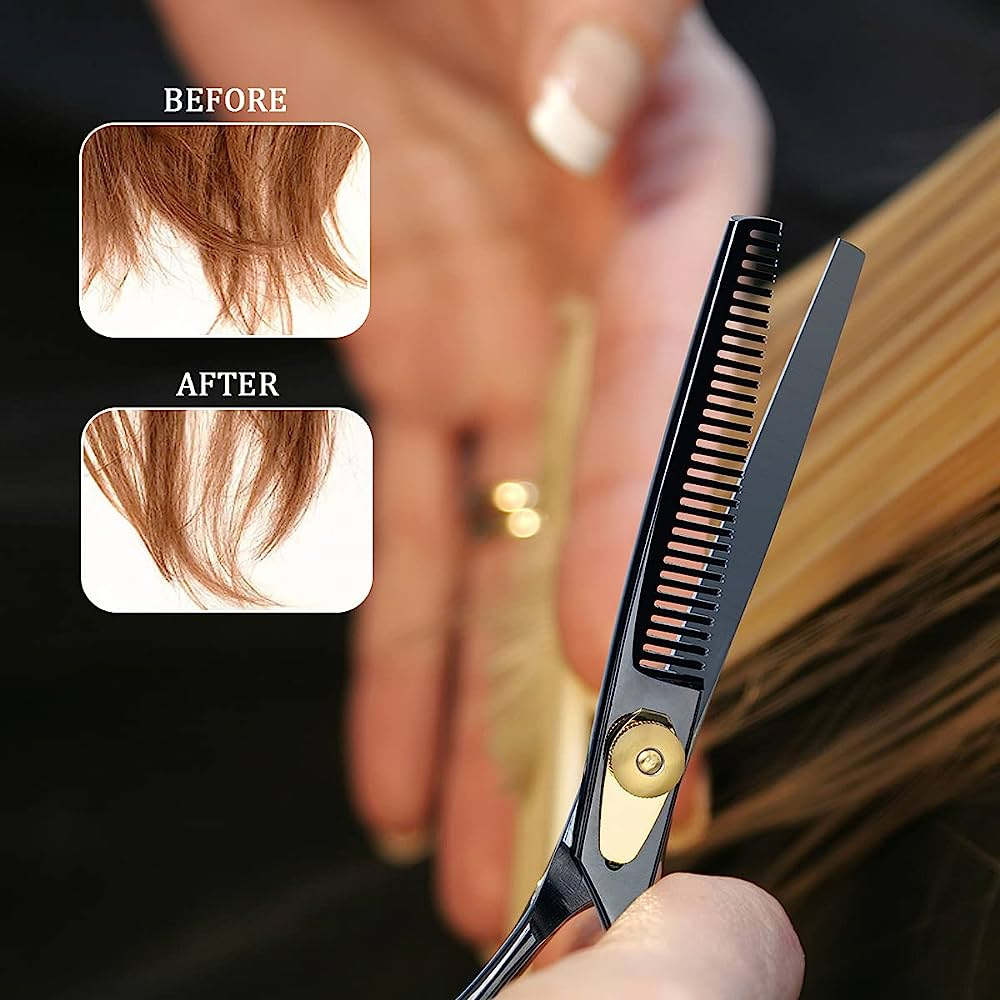
Thinning shears, also known as texturizing shears, are a hairstylist’s secret weapon for creating movement, volume, and natural-looking texture in hair. While often feared by beginners, mastering these tools unlocks a world of possibilities, allowing you to achieve styles that are both stylish and healthy-looking. This comprehensive guide, updated for 2025, will cover everything from choosing the right shears to advanced techniques, empowering you to confidently thin hair and elevate your styling skills.
I. Understanding Thinning Shears: Types and Features
Before diving into techniques, it’s crucial to understand the different types of thinning shears available. The market in 2025 offers a diverse range, each designed for specific purposes:
-
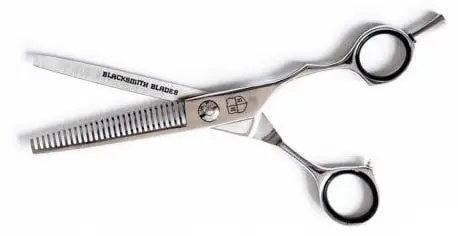
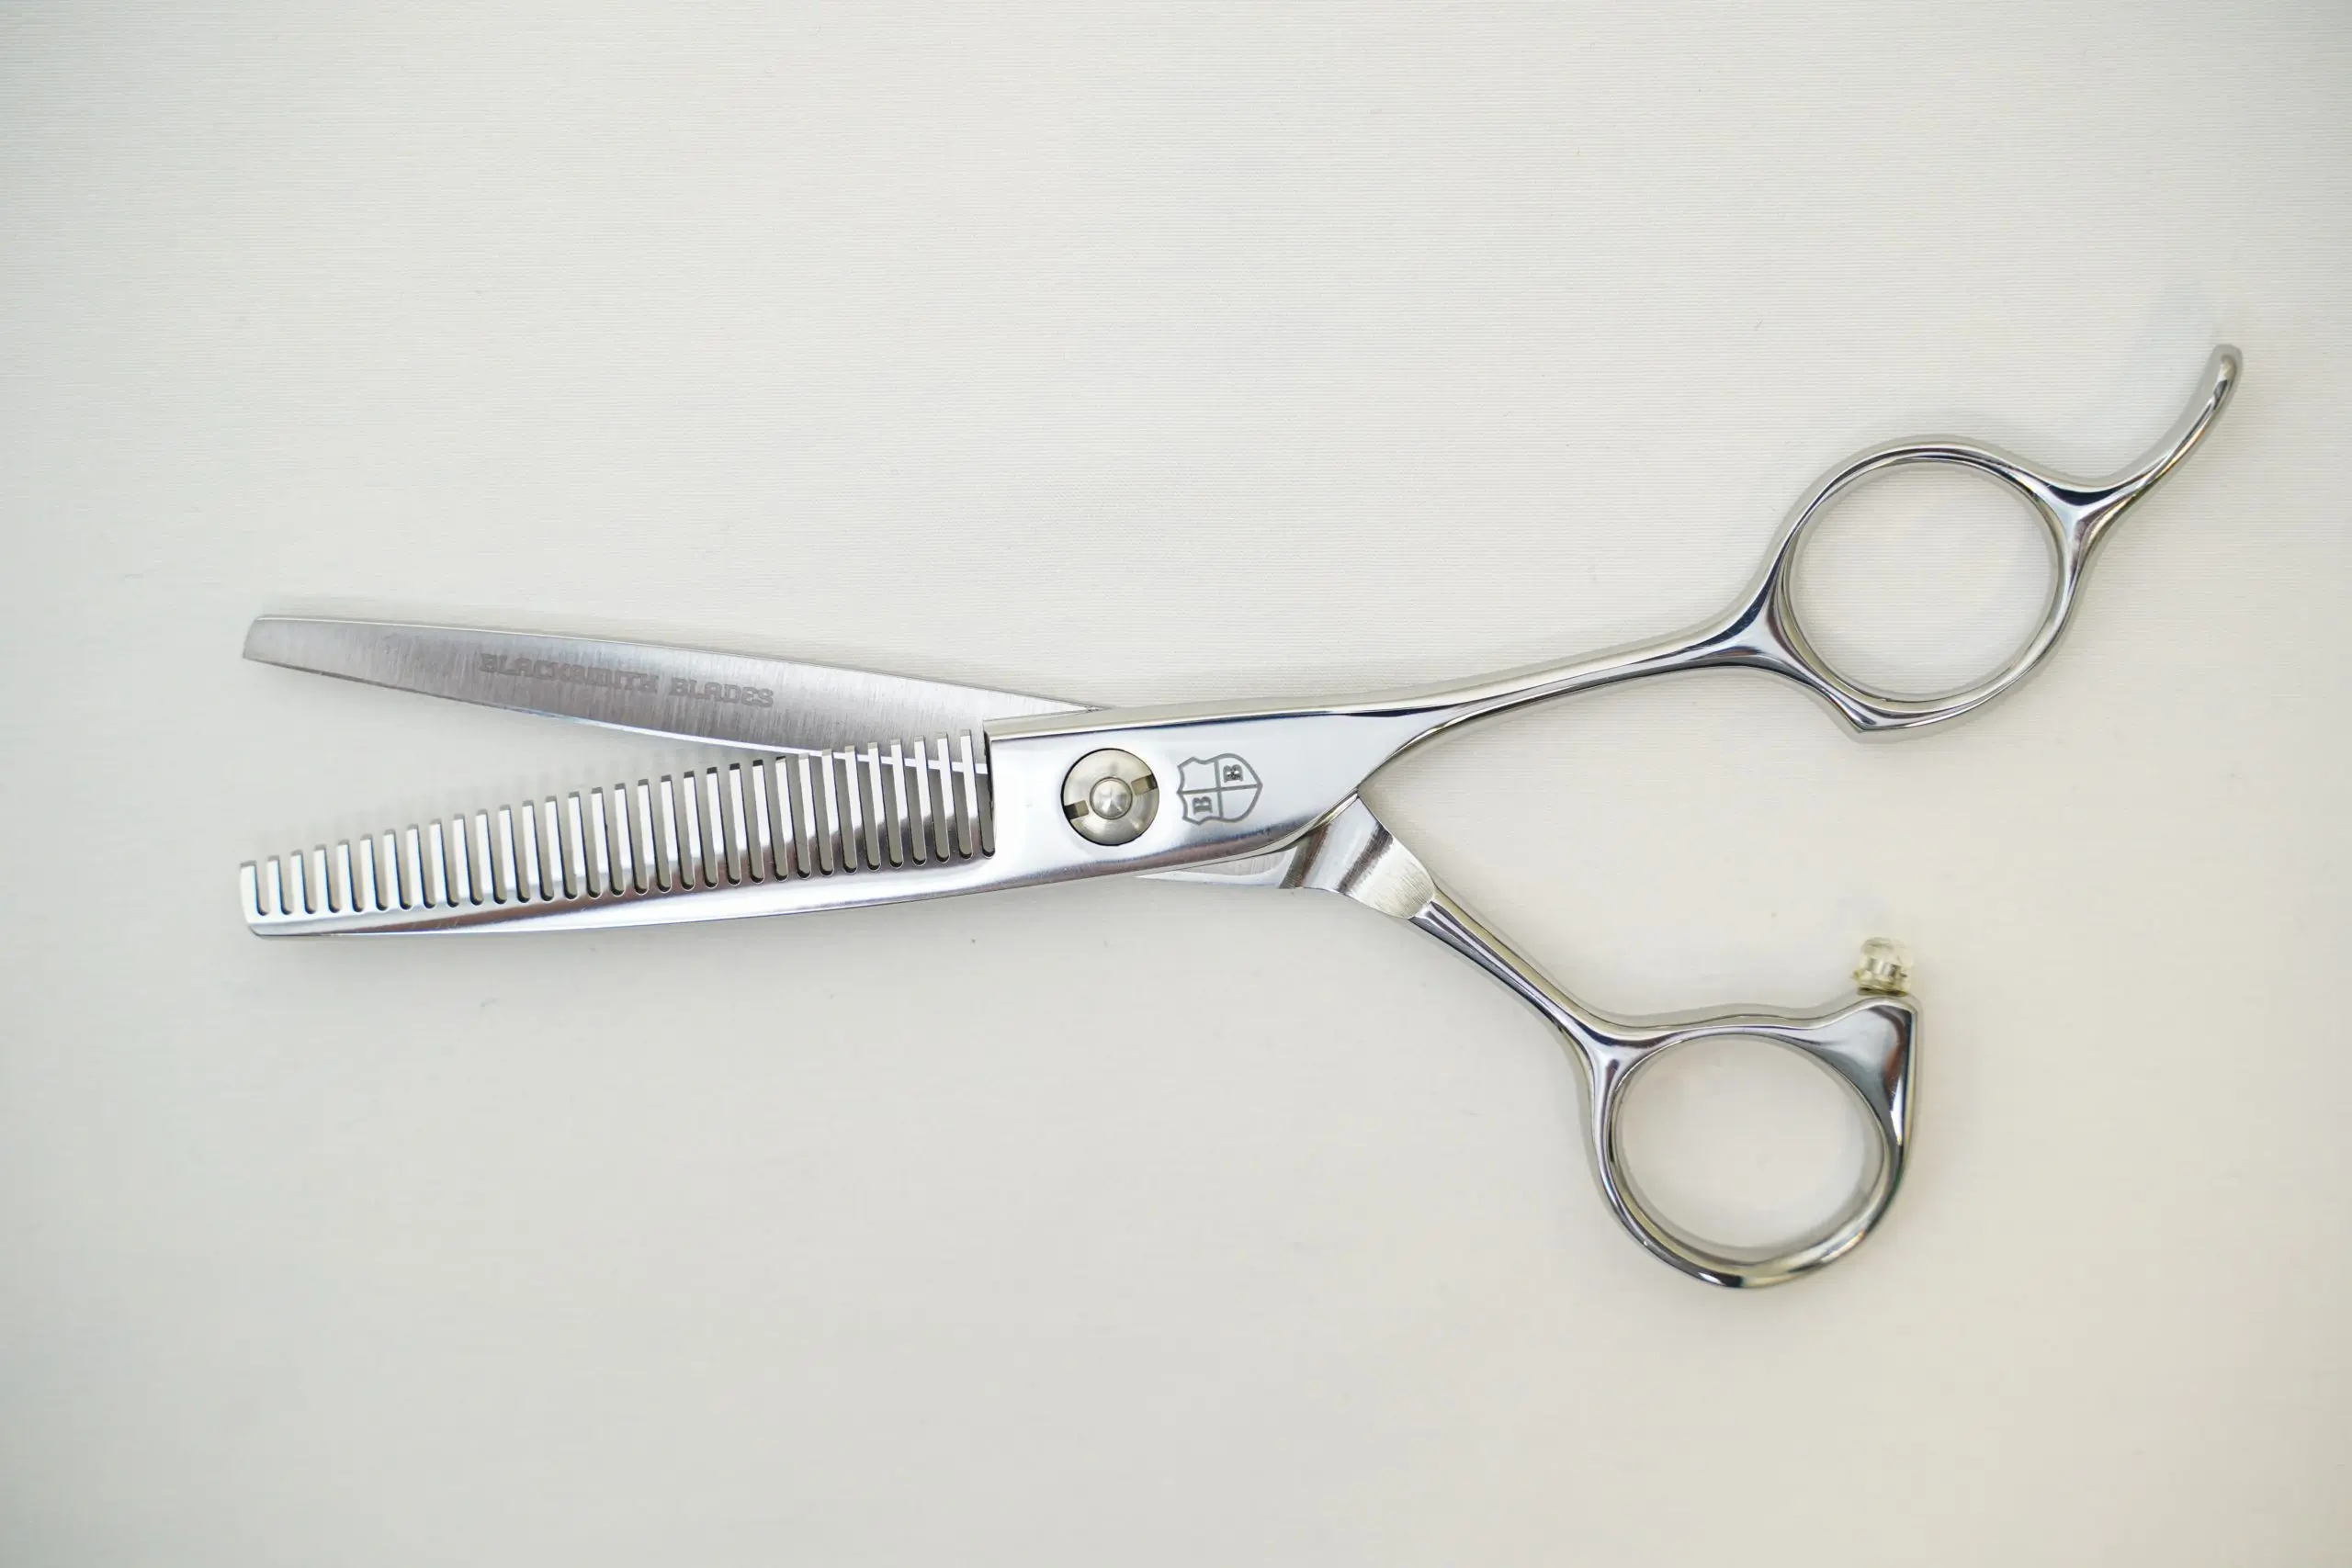
Standard Thinning Shears: These shears feature a mix of teeth and blades, removing a portion of the hair while leaving some intact. The tooth-to-blade ratio determines the aggressiveness of the thinning. A higher tooth-to-blade ratio (more teeth) results in a more subtle thinning, while a lower ratio (fewer teeth) provides a more dramatic effect.
-
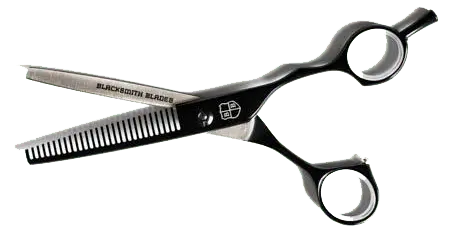
Chunking Shears: These shears have fewer, larger teeth, creating a more dramatic, chunky texture. They’re ideal for removing significant bulk from thick hair or creating a deliberately piecey look. Use with caution, as excessive chunking can lead to unevenness.
-
Blending Shears: These shears are designed for smooth transitions between layers and lengths. They typically have smaller, more closely spaced teeth, providing a gradual reduction in density. Excellent for softening harsh lines and creating a seamless blend.
-
Razor Thinning Shears: Combining the features of a razor and thinning shears, these tools offer a unique cutting action that creates a soft, wispy texture. However, they require a higher level of skill and are generally not recommended for beginners.
Choosing the Right Shears:
The choice of thinning shears depends on your hair type, desired outcome, and skill level. Consider these factors:
-
Hair Type: Fine hair requires subtle thinning, necessitating shears with a high tooth-to-blade ratio. Thick, coarse hair can tolerate more aggressive thinning, allowing for shears with a lower ratio.
-
Desired Effect: For subtle texture, opt for standard thinning shears with a high tooth-to-blade ratio or blending shears. For a more dramatic effect, chunking shears might be suitable, but use them sparingly.
-
Skill Level: Beginners should start with standard thinning shears with a high tooth-to-blade ratio. More advanced techniques, like those using razor thinning shears, require extensive practice and experience.
II. Essential Preparation: Before You Begin
Proper preparation is key to achieving successful results with thinning shears. Before you start, ensure you have the following:
-
Sharp Thinning Shears: Dull shears will pull and damage hair, leading to uneven results. Invest in high-quality shears and maintain them regularly through professional sharpening.
-
Clean Hair: Work with clean, dry hair. Wet hair can be slippery and difficult to control, making precise thinning challenging.
-
Sectioning Clips: Use sectioning clips to divide the hair into manageable sections. This ensures even thinning and prevents accidental cuts.
-
Mirror: A well-lit area with a large mirror is crucial for optimal visibility and control.
-
Practice Hair: Before working on real hair, practice on a mannequin head or a wig to develop your technique and build confidence.
III. Thinning Techniques: From Basic to Advanced
Once you’ve gathered your tools and prepared your hair, you can begin the thinning process. Here are some techniques, ranging from basic to advanced:
A. Basic Point Cutting:
This technique involves using the tips of the thinning shears to remove small amounts of hair. It’s ideal for creating subtle texture and removing bulk without dramatically altering the overall shape. Hold the shears vertically and lightly snip into the ends of the hair, focusing on the areas that need thinning.
B. Slide Cutting:
Slide cutting involves gently closing and opening the thinning shears while sliding them along the hair shaft. This technique creates a soft, diffused texture and is particularly useful for blending layers. It’s crucial to use a light touch to avoid removing too much hair.
C. Pointing and Slithering:
This advanced technique combines point cutting and slide cutting to create a more defined texture. It’s ideal for adding movement and volume to specific areas of the hair. Requires practice and precision.
D. Using Chunking Shears:
Chunking shears are used to remove significant bulk from thick hair. Use them sparingly and with precision to avoid creating overly chunky or uneven results. Focus on areas where you want to create a dramatic textural contrast.
E. Working with Razor Thinning Shears:
Razor thinning shears require a high level of skill and precision. They are best used by experienced stylists, as improper use can lead to uneven or damaged hair. Their unique cutting action creates a soft, wispy texture ideal for creating a tousled, beachy look.
IV. Avoiding Common Mistakes:
Several common mistakes can lead to uneven or damaged hair when using thinning shears:
-
Over-thinning: Start with a light touch and gradually increase the amount of hair removed as needed. It’s easier to remove more hair than to add it back.
-
Uneven Thinning: Use sectioning clips to divide the hair into manageable sections and work systematically to ensure even thinning.
-
Using Dull Shears: Dull shears will pull and damage hair, leading to uneven results. Invest in high-quality shears and maintain them regularly.
-
Ignoring Hair Type: Choose the right thinning shears for your hair type and desired outcome. Fine hair requires subtle thinning, while thick hair can tolerate more aggressive techniques.
-
Lack of Practice: Practice on a mannequin head or wig before working on real hair to develop your technique and build confidence.
V. Aftercare and Maintenance:
After thinning your hair, it’s essential to care for it properly to maintain its health and appearance:
-
Conditioning: Use a deep conditioner to replenish moisture lost during the thinning process.
-
Styling: Use styling products that enhance texture and volume without weighing the hair down.
-
Regular Trims: Regular trims are essential to remove split ends and maintain the shape of your haircut.
-
Professional Help: If you’re unsure about using thinning shears, consult a professional hairstylist. They can provide expert advice and guidance.
VI. Conclusion:
Mastering the art of thinning hair with thinning shears is a rewarding skill that empowers you to create a wide range of stylish and textured looks. By understanding the different types of thinning shears, mastering the basic and advanced techniques, and avoiding common mistakes, you can confidently achieve professional-looking results. Remember to practice, prioritize safety, and always consider consulting a professional if you’re unsure about any aspect of the process. The year is 2025, and the possibilities with thinning shears are endless. Embrace the challenge, experiment with different techniques, and unlock your potential as a hairstylist.


Closure
Thus, we hope this article has provided valuable insights into Thinning Shears: A 2025 Guide to Mastering Textured Hair. We appreciate your attention to our article. See you in our next article!